
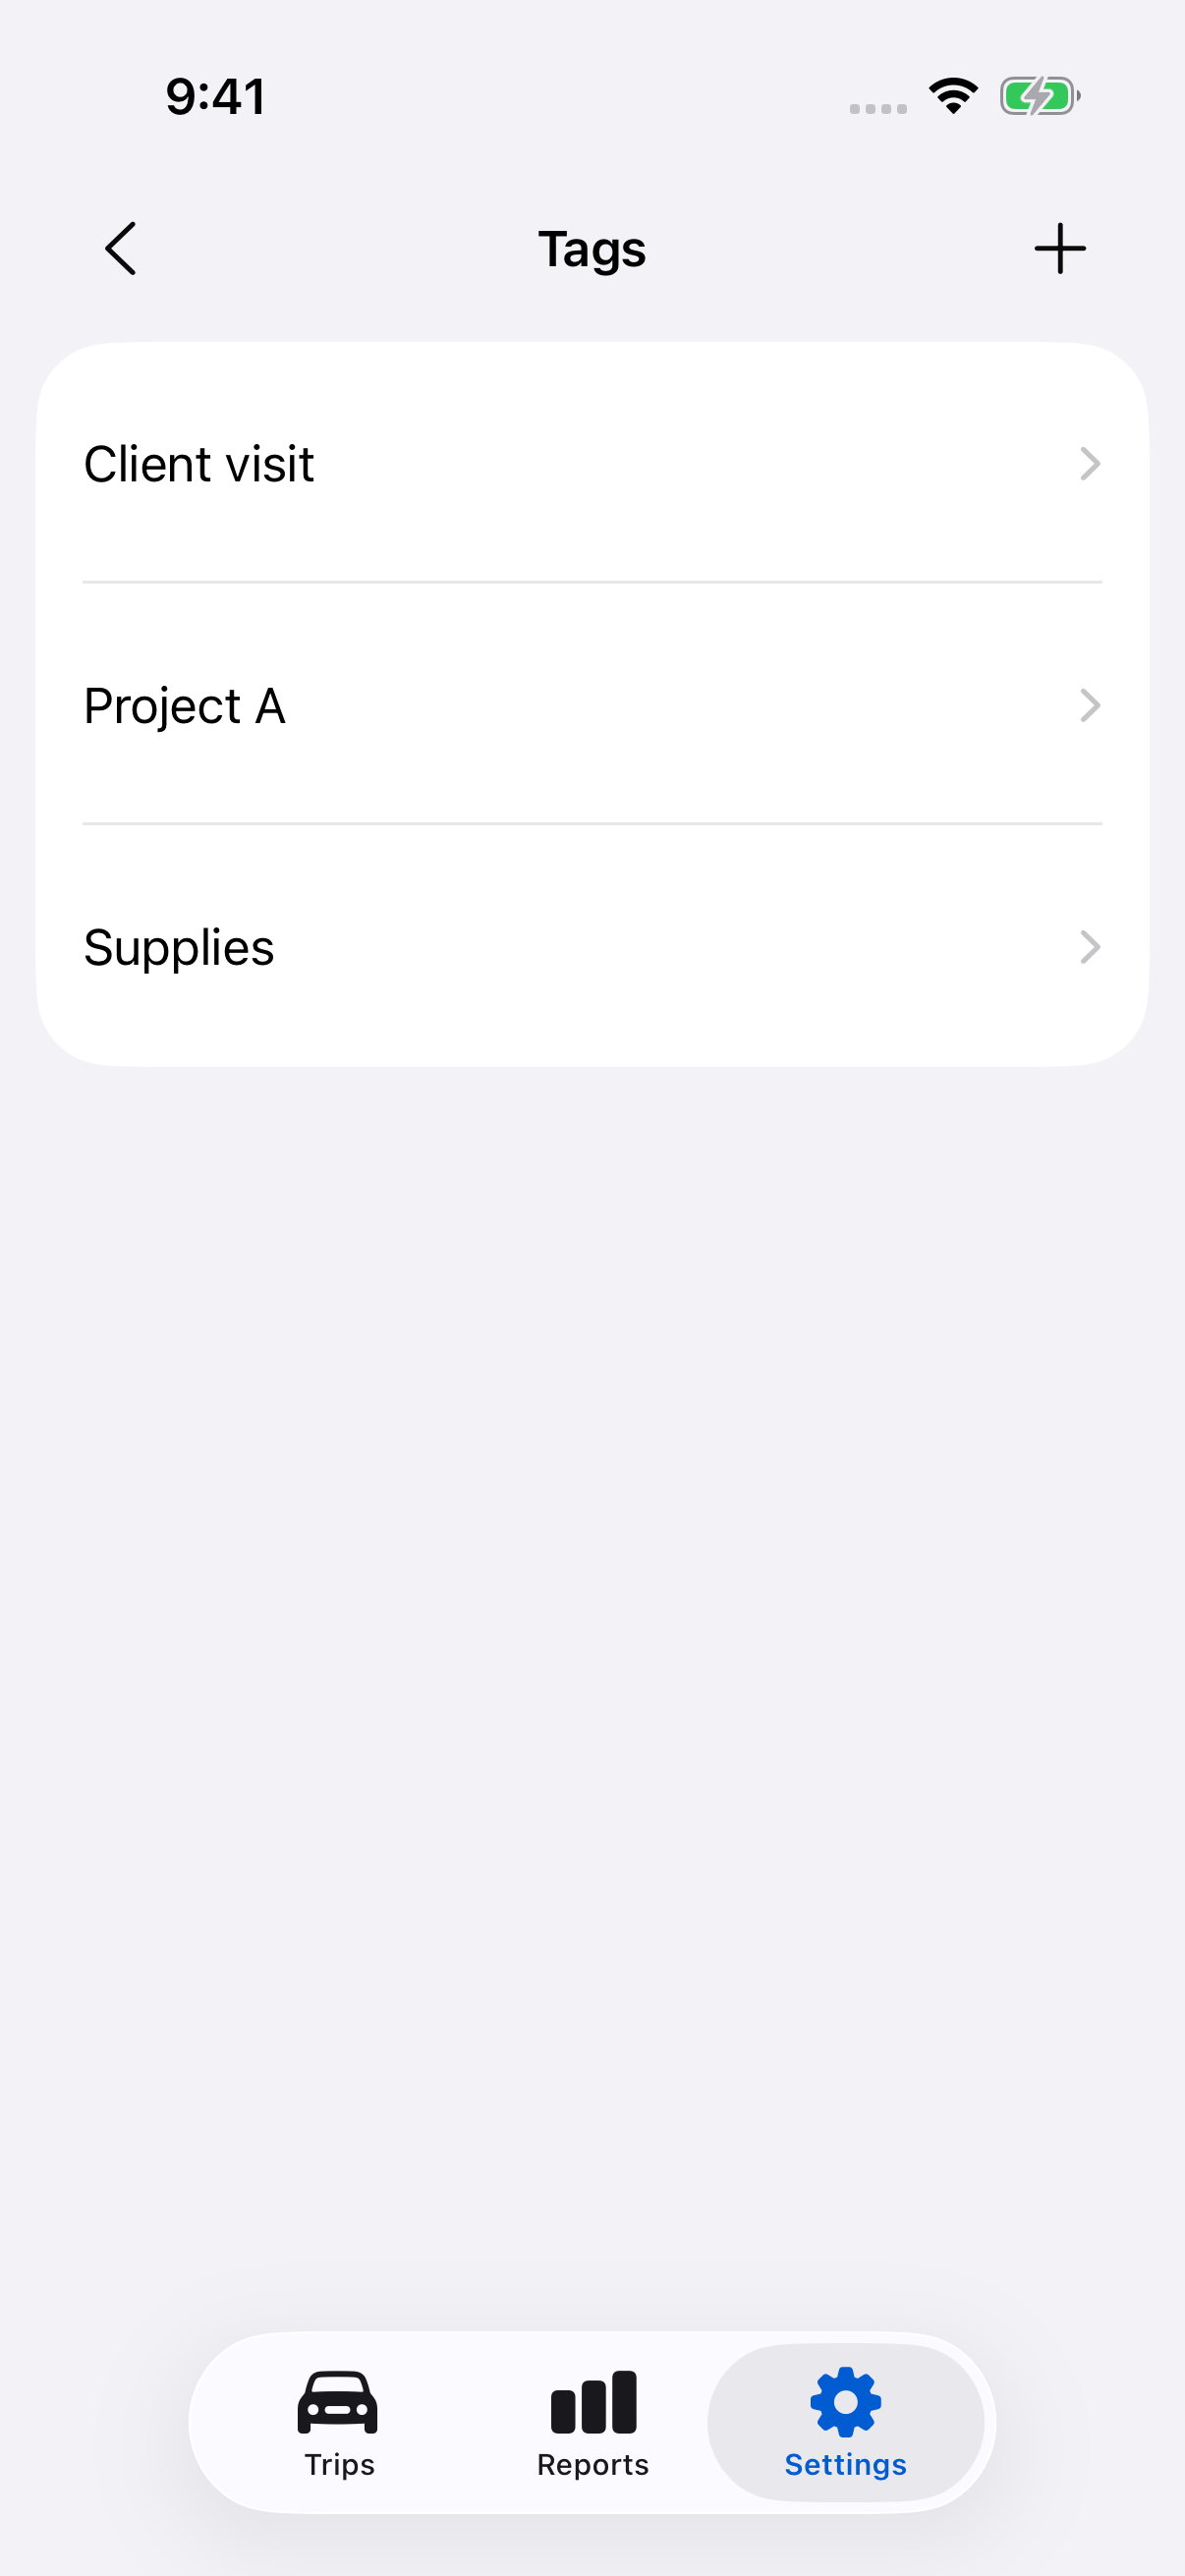
Create a tag
- Open Settings → Tags.
- Tap the + button.
- Enter a clear, unique name, such as a client or project.
- Tap Save.
Use the search field to find an existing tag before creating another.
Add or remove trip tags
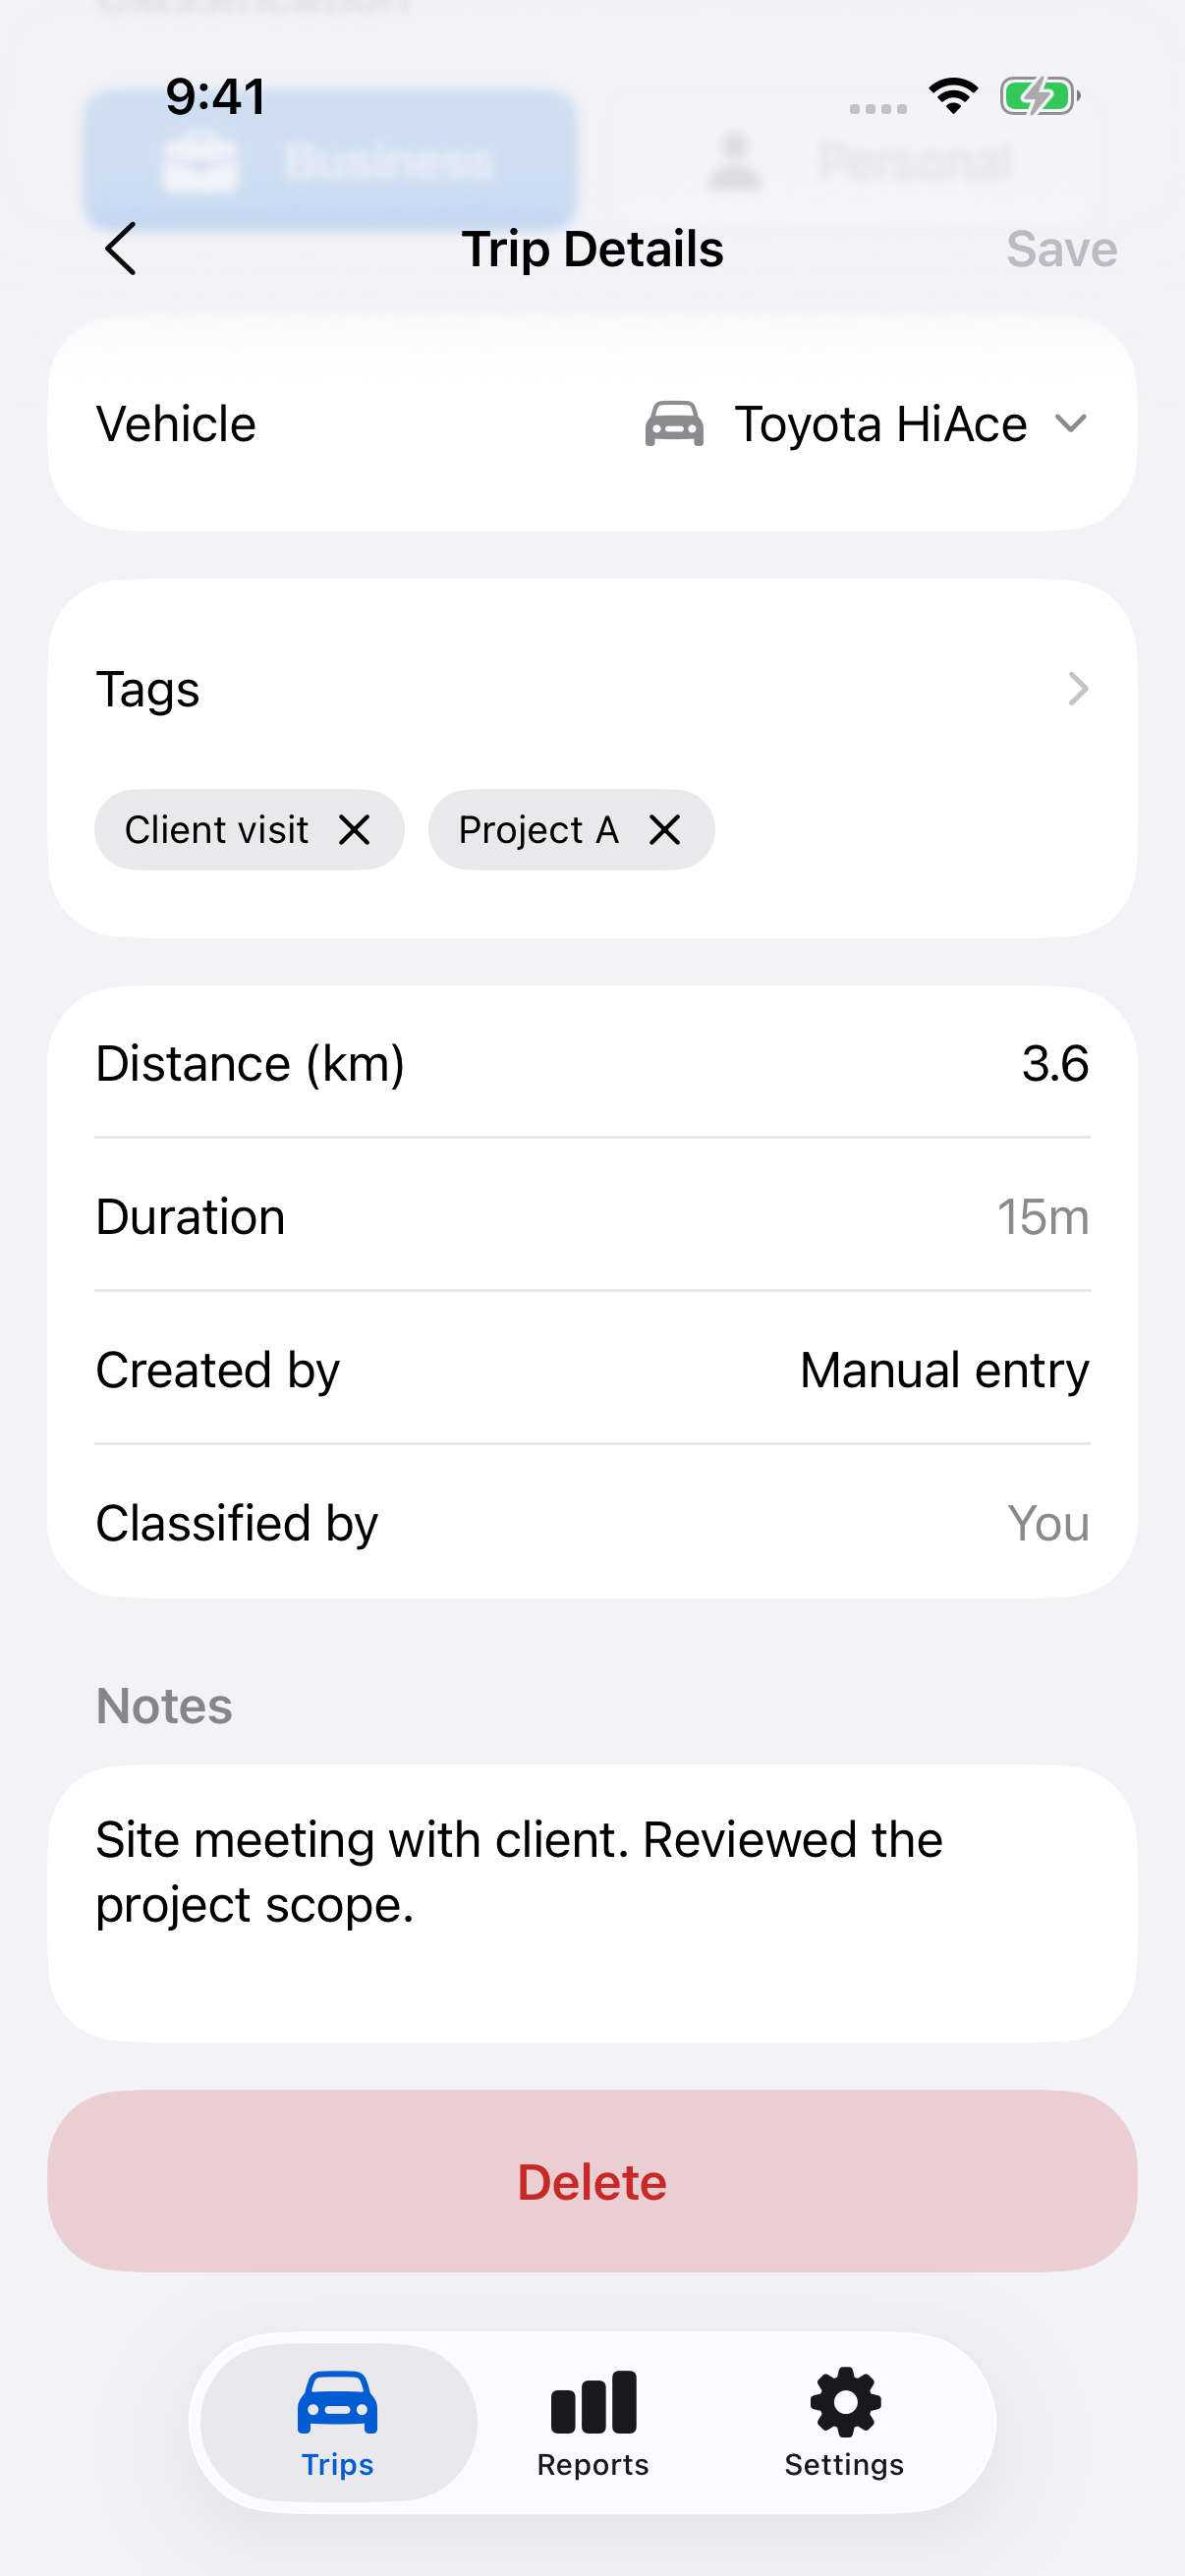
- Open a trip from Trips and tap Tags.
- Select the tags to apply. Tap a selected tag again to remove it from the selection.
- Tap Done to return to Trip Details.
- Tap Save to save the trip.
You can select several tags. New tag in the picker lets you create one without leaving the task. Saving a new tag creates the label; the parent trip still needs Save to keep its selection.
Tags supplement notes and classification. They do not change Business or Personal status.
Rename or delete a tag
Open Settings → Tags and tap a tag. Change its name and tap Save, or tap Delete and confirm.
Deleting removes the tag from trips but keeps the trips. A tag used by a rule cannot be deleted until you change or delete that rule, including a disabled rule. Historical Applied rules entries retain the tag name recorded when the rule ran.
Use tags in rules and reports
Automation rules can add tags to automatic trips at completion. Tags from matching rules accumulate without duplicates.
All report types include Tags in PDF and CSV. The Trips screen filters by month and classification; it does not have a tag filter or bulk tagging control.
Still need help?
If you can’t find what you’re looking for, we’re here to help.
Contact us